How to mix really well!
Tips for Flawless Mixing
For quality-conscious craftsmen, producing a perfect mixture of their building materials, be it tile adhesive, screed or leveling compounds, is not a boring side issue. You know very well how important perfect homogenization of your materials is for the rest of the work. Lumps in the floor compound, dry, unmixed material residue in the bucket or sticky surfaces after the application of synthetic resins are all familiar from everyday work.
As experts in the field of mixing, we focus exclusively on successful material preparation and would like to offer you some application tips below for better mixing and problem-free work:
#1 – The right shape of mixing paddle
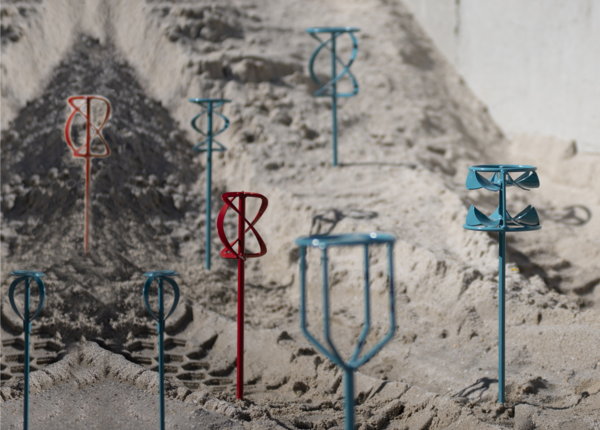
You wouldn’t use a wood drill bit to drill into a concrete ceiling would you? That makes sense to most people, but people often mix with just one type of paddle. Just looking at the sheer huge amount of building chemical materials makes the opposite clear. The contents of the material bags usually is the same picture: it’s all grey powder. But as soon as it is mixed with water, the powder either converts into a thin self-levelling compound, a soft plastic adhesive mortar or a stiff mortar filled with sand.
It’s pretty self-explanatory that this requires the most effective paddle possible. If the design of the paddle does not match the properties of the mix, this will result in defects. The material cannot be broken down properly or you cannot get to the bucket base due to the incorrect mixing effect. Apart from this, hand-operated mixing with a stirrer is physically very strenuous and time-consuming.
Another important factor is the diameter of the paddle. It should always correspond to the amount to be mixed. If it is too small, it will take much longer and the effect is too weak. If it is too wide, the material may be ejected out of the bucket dirtying the user and the surrounding area.
You can find out which mixer is the right one for which material and quantity here.
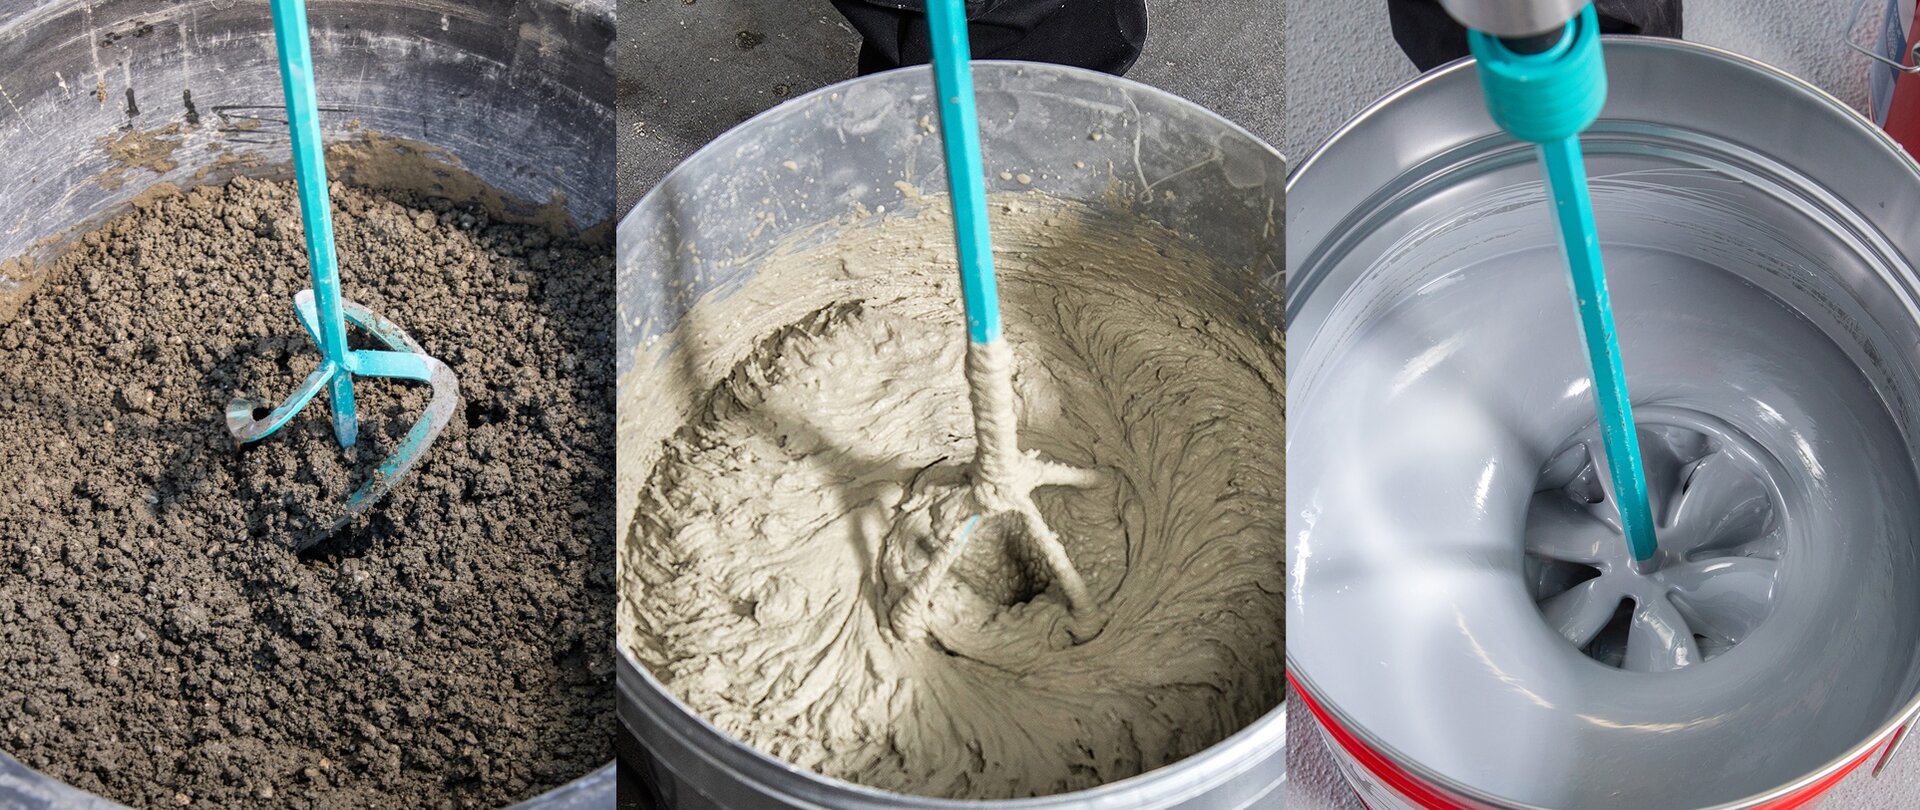
Whether grainy and heavy, creamy and plastic or flowing - the right paddle ensures the best results.
#2 – Choose a suitable size of mixing bucket
Which bucket is suitable for which material depends primarily on the quantity of material to be mixed.
Everyone agrees on one point: if the bucket is too small, it will not only affect your work trousers, which will probably have to be washed in the washing machine, but may also spoil the construction site surroundings - especially indoors, splashes on freshly plastered or painted walls do not look so good.
Ideally, the mixing bucket should be filled up to 2/3 of its height with material, so that you still have enough in reserve during mixing and can move the mixture in the bucket easily.
You should also make sure that the paddle is completely immersed in the mixture. This reduces the amount of force required during mixing and prevents material from being thrown out or excessive air from being introduced into the mixture. You can find out more about suitable buckets here.
#3 – The right motor
Professionals usually use special stirrers. This has the advantage that appropriately powerful machines are available for stirring. These power tools transform the force of the motor into torque for mixing. That is why their speeds are also much lower than those of drills. Drills are only conditionally suited as mixing tools. Since their speeds are usually much too high, this leads to the machine overheating and finally failing within a short period of time when mixing tough or heavy materials.
A rule of thumb therefore applies:
- Heavy masses require a lot of force and therefore a lower speed.
- A faster speed is generally used for thin, light materials.
There are also so-called duo machines. These double mixers with counter-rotating blades are particularly suitable for mixing large quantities of heavy masses, especially quartz-filled epoxy resins. The counter-rotating paddles neutralize the so-called reverse torque of the machine on the operator. This effect leads to a significant reduction in physical strain. An additional and decisive factor is the time saved for mixing. Particularly with heavy mixtures, this is reduced by almost half.
More about our hand-mixer program
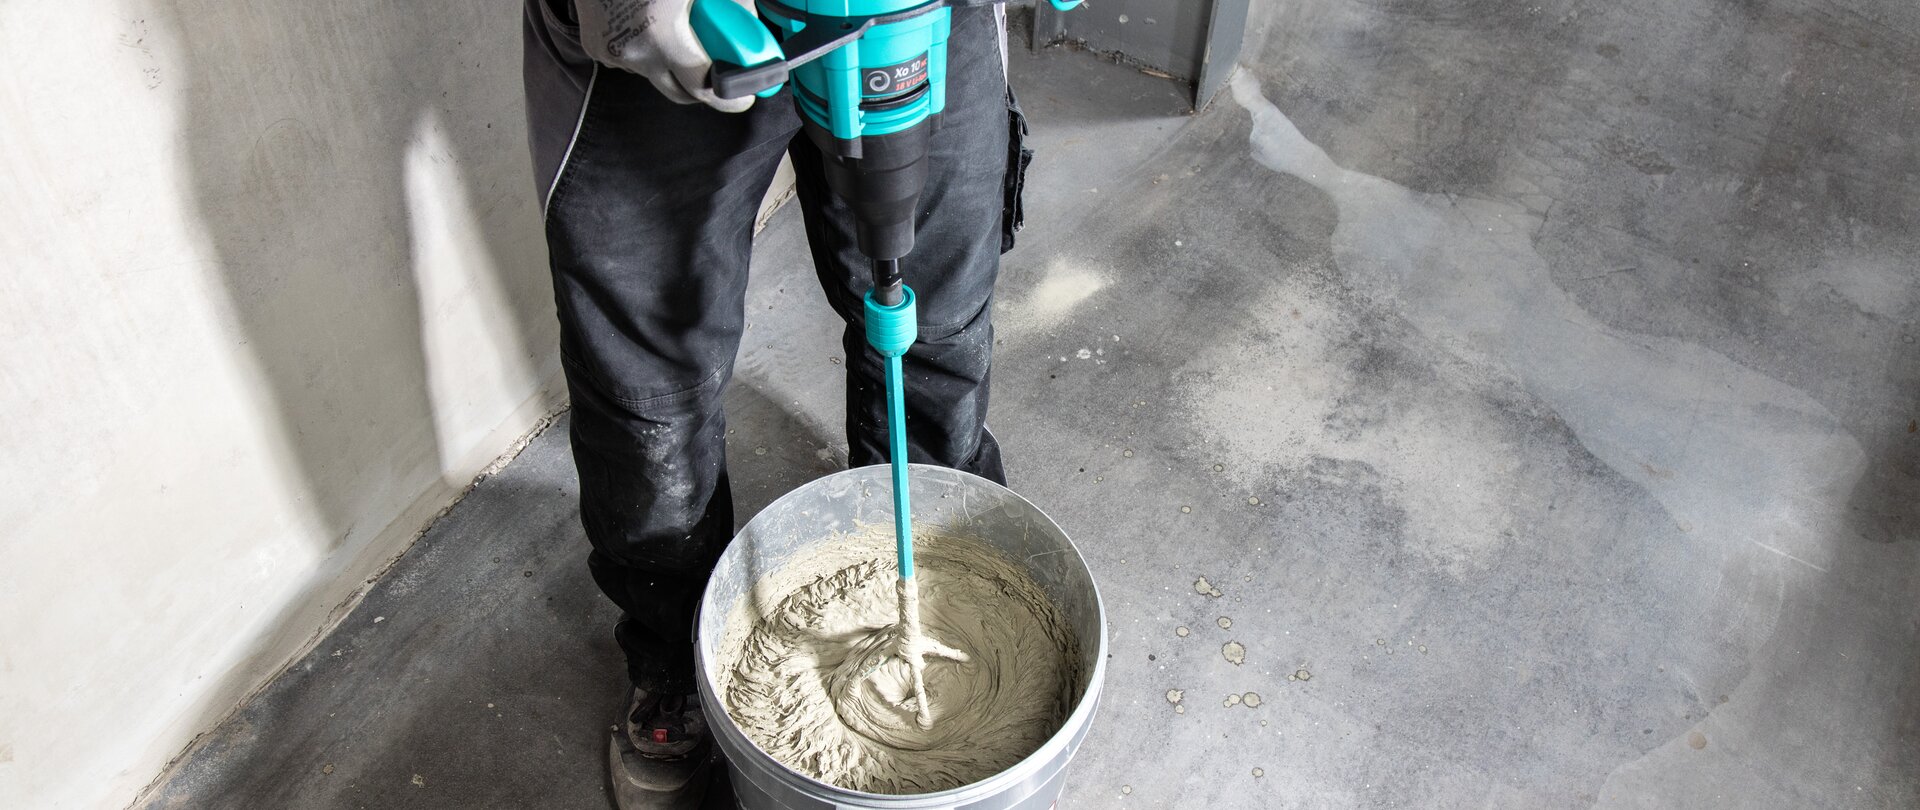
Mixer-drills and paddles are the solution for professionals
#4 – Observe the correct amount of water and correct sequence
The right paddle, the right hand mixer and the right bucket have been found. Now it's time for the mixing itself. Here, too, there are a few factors to consider in order to achieve a top mixing result. The ingredients of modern construction chemicals are becoming increasingly complex. It is therefore very important to mix the materials correctly.
The key factor here is the right amount of water for the mixture. Follow the manufacturer's instructions, they have a reason. Often a little too much or too little water is enough and the mixture no longer fits the recipe. A measuring bucket or a dosing device can be used as an aid. Ready-mixed mortar must not be further diluted with water, otherwise it will "water down" and become unusable.
Basically, the water goes into the bucket first. Then the material. The other way round, you would have to work the water into the powder. This is more laborious and time-consuming for the person at the mixer. Mixing errors in the form of lumps in the mixture are often the result. These could later lead to flaking, defects, adhesion problems or leaks. Complaints not only cost the craftsman money, but also reflect badly on you.
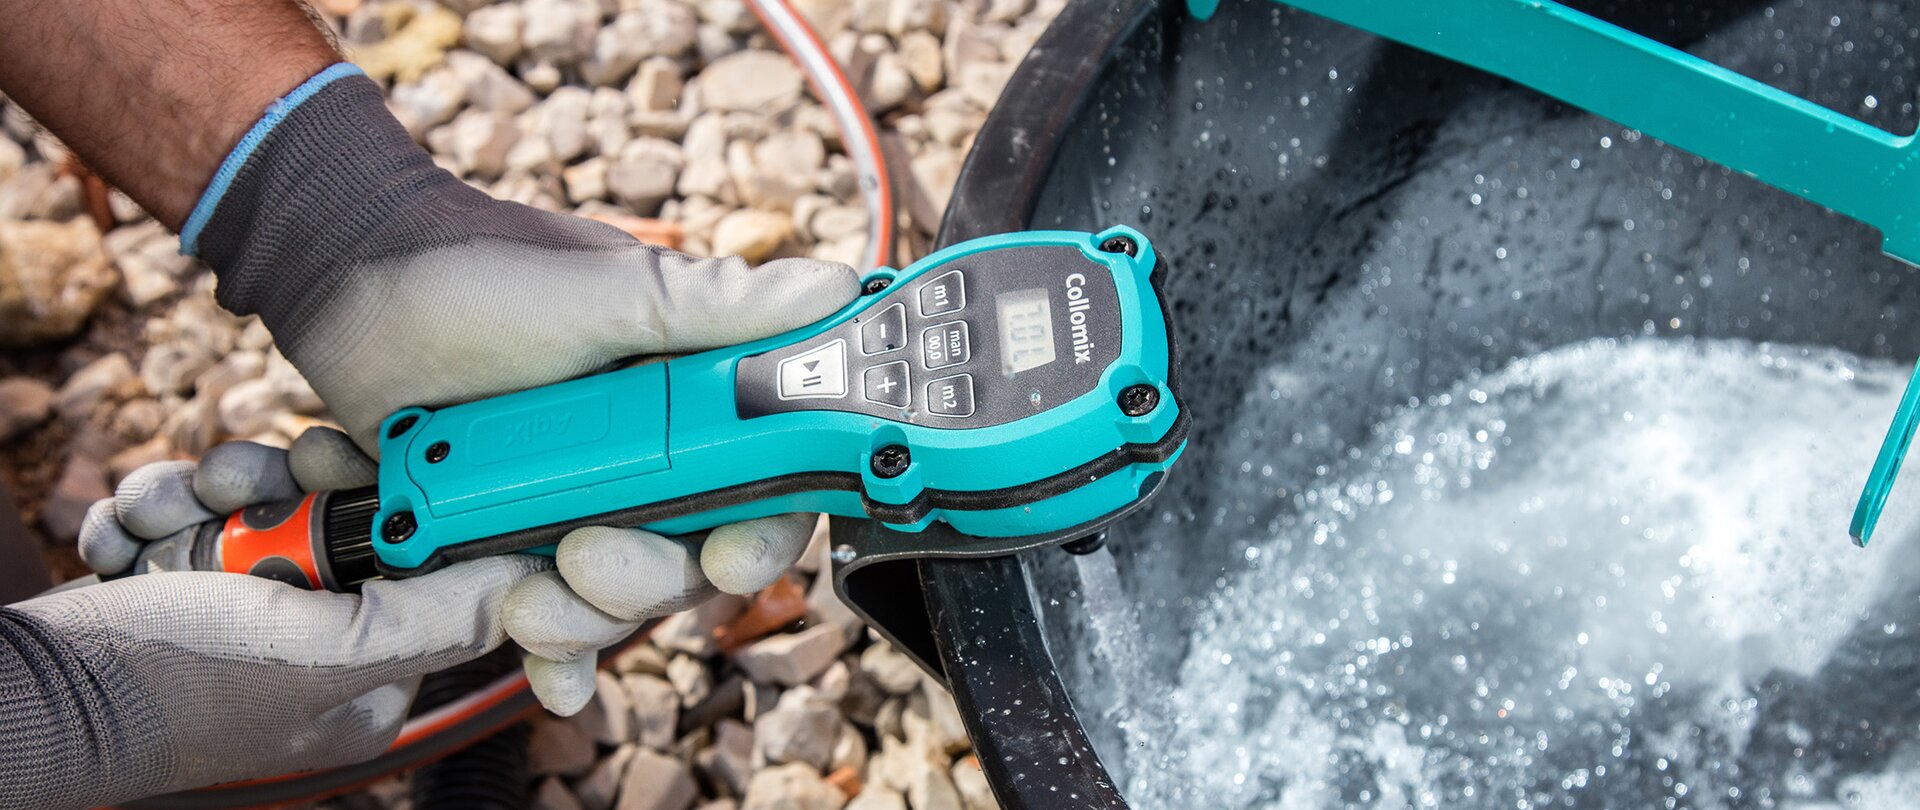
The right amount of water is crucial for a good mixture
#5 – Observe the mixing time
One reason for faulty material is also due to mixing times that are not followed. Manufacturers specify certain mixing times and maturing times for their materials for good reason. Many products contain chemical additives, which develop their full effect only after a certain period of resting and mixing again. Another factor processing factor plays a role in frequent hand-operated mixing: the more frequently materials have to be mixed on the construction site, the more often the mixing times get shorter and shorter. So be sure to take a look at your watch. If you are not careful here, problems, frustration and costs are inevitable later.
The importance of a "maturing time" after mixing tile adhesives or floor levelling compounds is often not clear, which is why it is often ignored. However, it is worth investing these few minutes: During the maturing time, the additives contained in the fresh mortar can unfold and then develop their effect evenly after another brief stirring. The mortar becomes more homogeneous, smoother and retains its good workability over the specified period.
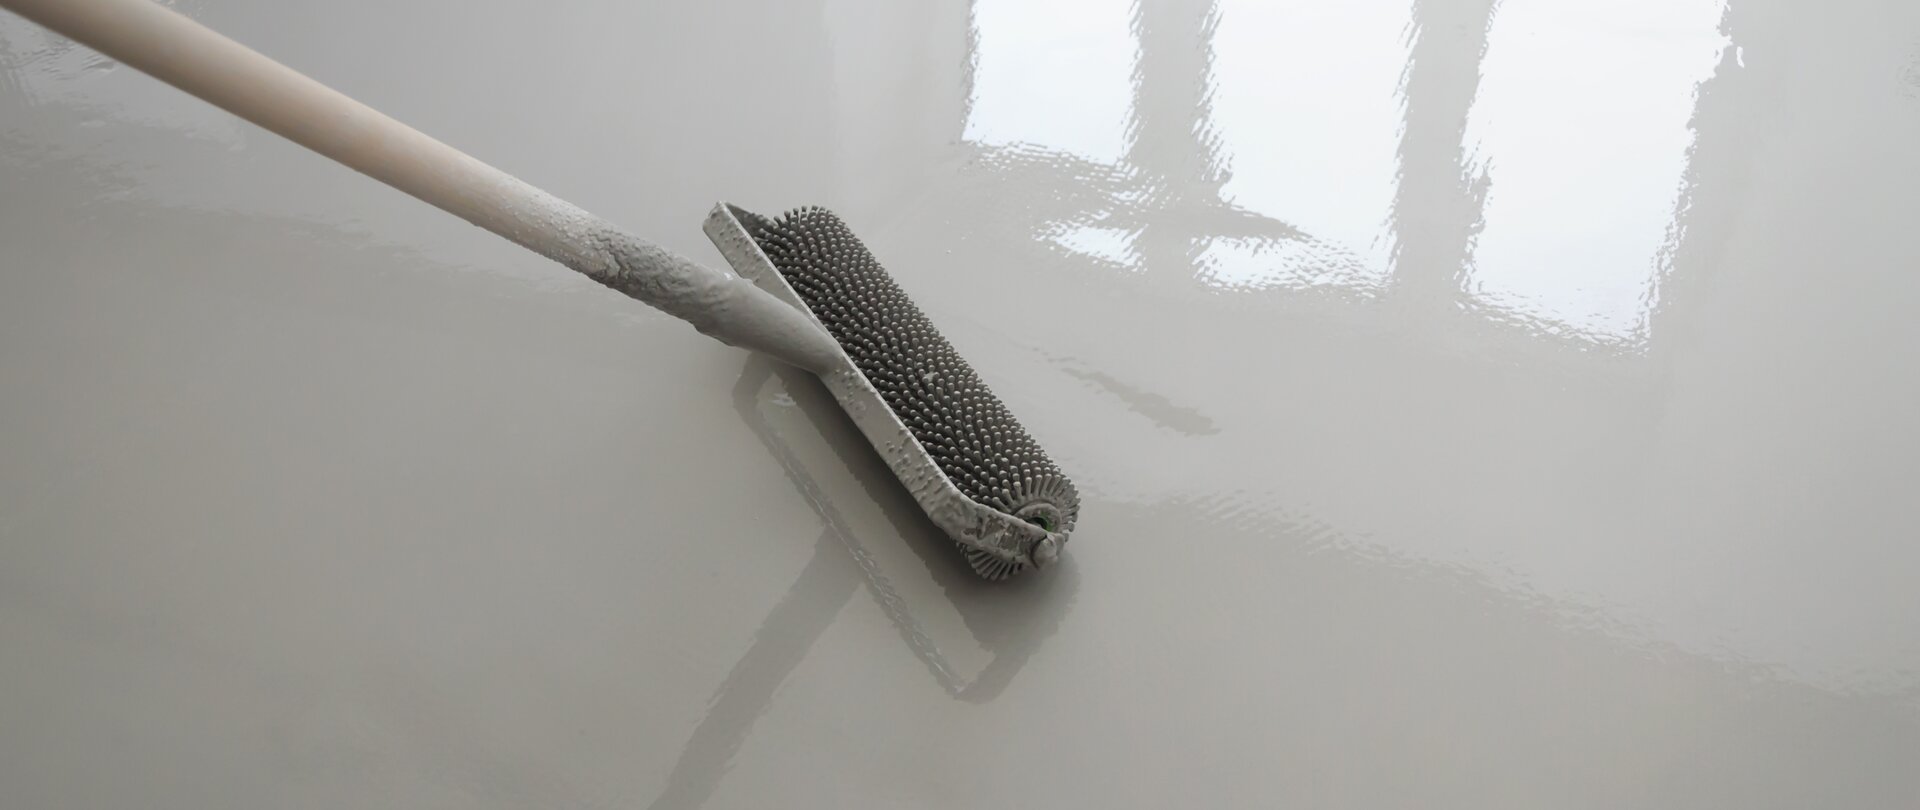
Perfect material - perfect surface
#6 – Clean Mixing Tools
To be honest: do you clean your paddle after every mixing process? Dried material residue can fall off during the next mixing process and contaminate the new material with “foreign bodies”. The individual material layers also gradually build up on the paddle. This causes the paddle to lose significant effectiveness and the mixing times therefore becoming longer. Dirty paddles must be replaced more frequently and therefore becoming expensive. The popular “hammer wash” is also not recommended. This will bend the paddle or welded joints will tear off.
The service life and effect of the paddle can be extended significantly by cleaning it after every mixing process. Cleaning can be very easy. A bucket filled with water and some coarse quartz sand does a good job or, much more elegant, use the Mixer-Clean cleaning bucket.
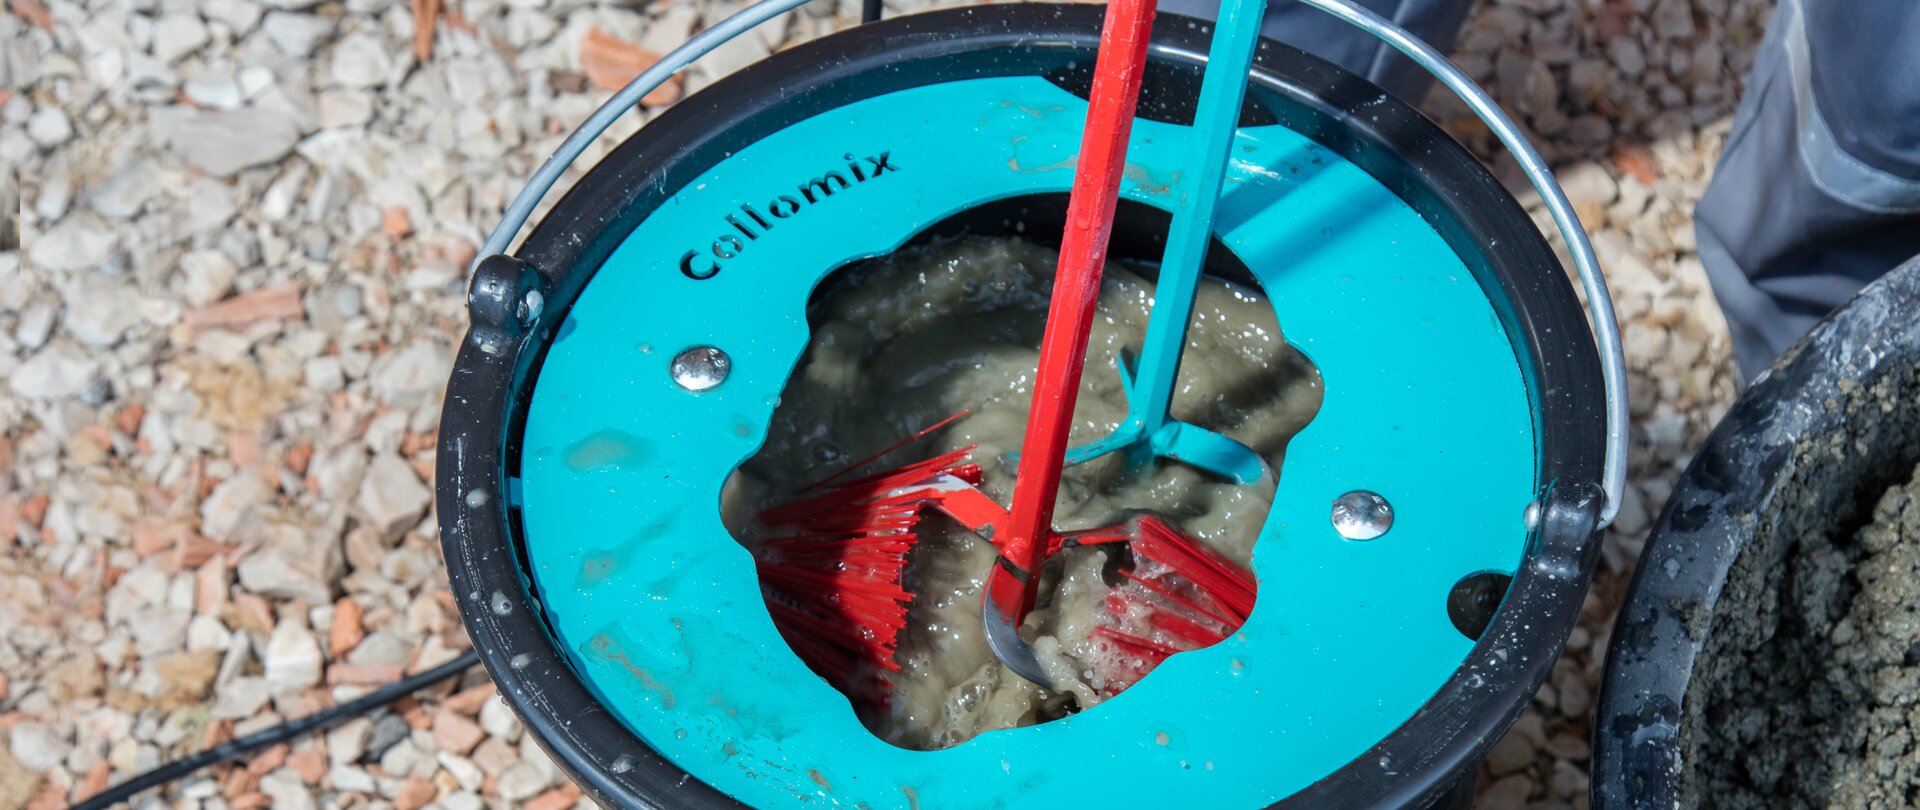
The easiest way to get clean mixers: MixerClean cleaning system
